Saturday, December 31, 2011

Judy Rodgers' Zuni Roast Chicken with Bread Salad (24/24)


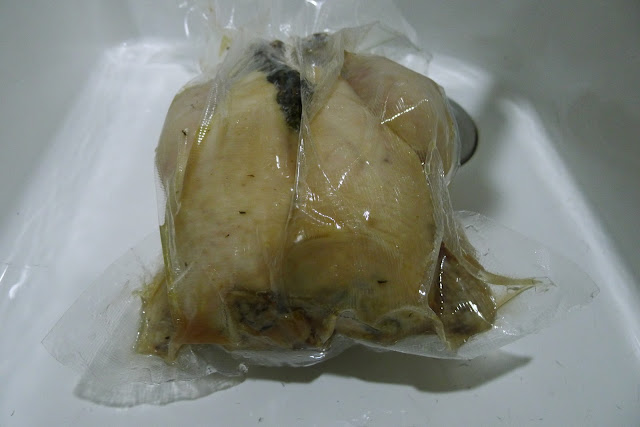
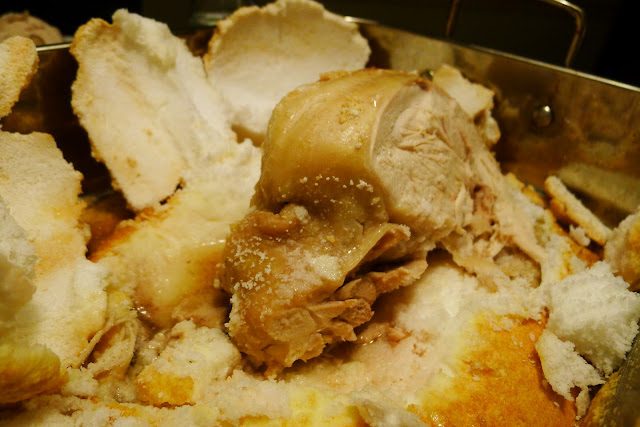
No, that's not what my last chicken of the year looked like. But it's how I was convinced to save Judy Rodgers' Zuni Roast Chicken with Bread Salad for last. I was fortunate enough to go to San Francisco last July and eat this famous plate of food with a couple friends at Zuni Cafe. Some might argue that this is the most famous offering of roast chicken in the States. And I can definitely see why. Opinions aside, if you find yourself at Zuni Cafe, their made to order roast chicken is well worth the one-hour wait.

With the taste of tangy bread salad and succulent roast chicken from that summer day still lingering in my mouth, I embarked on my attempt to recreate this dish for my family's last lunch of 2011, and my last chicken for this project.


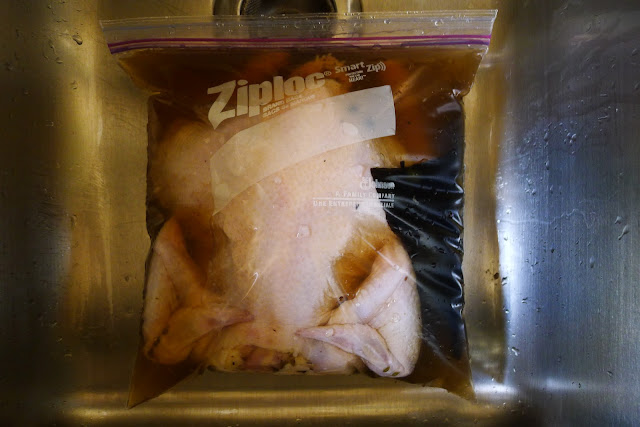
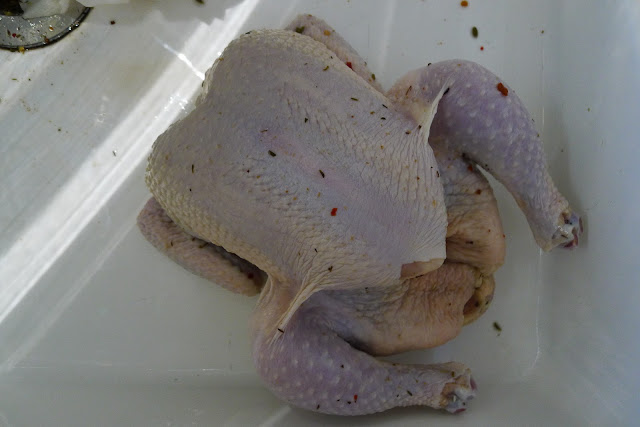
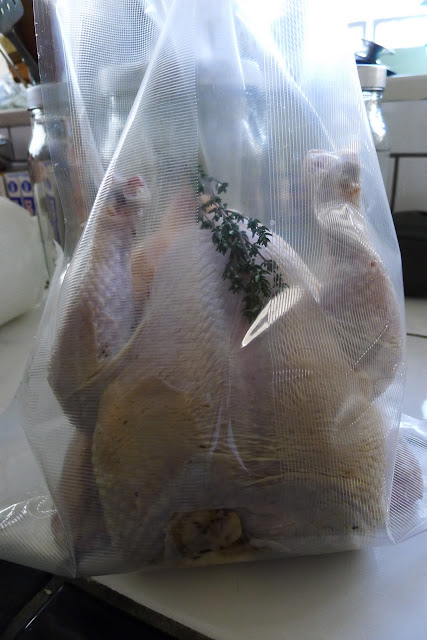
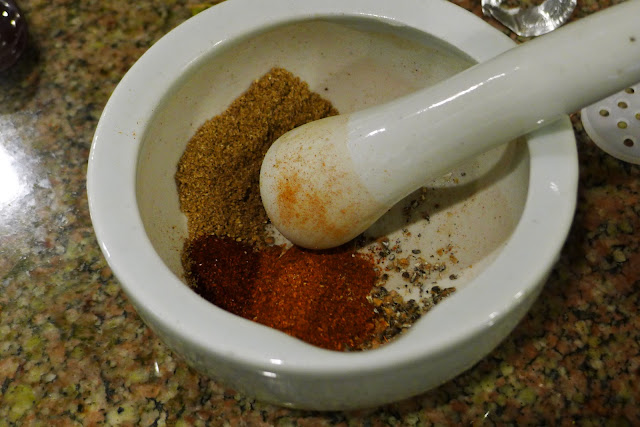
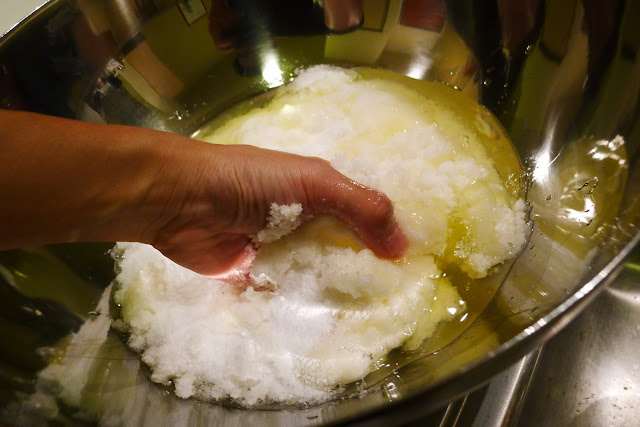
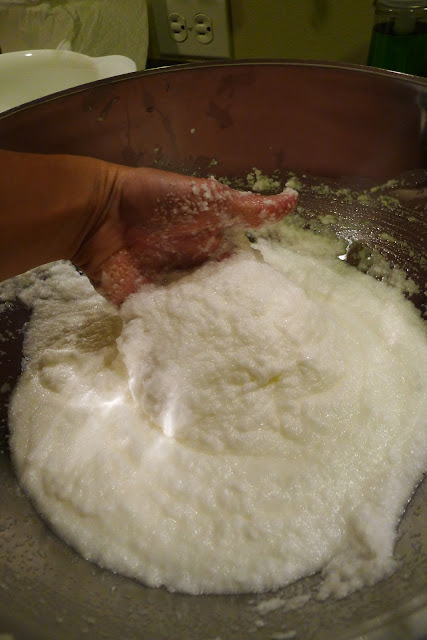
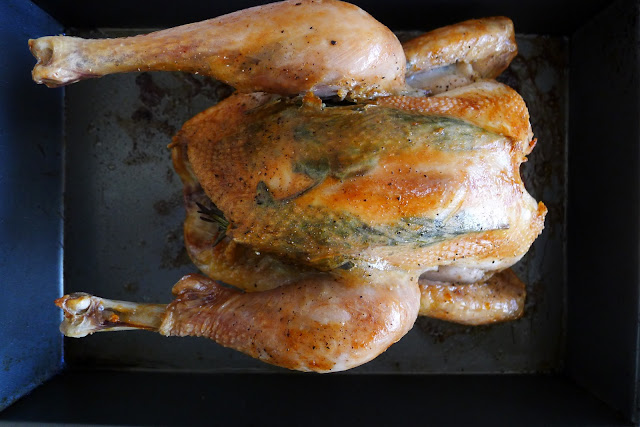
The recipe starts with a noticeably small chicken. Three pounds, to be exact. Stuffed with your choice of herbs (the recipe recommends thyme, marjoram, rosemary, or sage), salted with a heavy hand, and seasoned generously with freshly ground black pepper. To bring this project full circle, I decided to use two herbs that I love: rosemary and sage. Cover the chicken loosely and refrigerate for at least one full day, and up to three full days.


Next, get a slightly stale open crumb bread. The crumb is the inner part of the bread, and an open crumb is a crumb that is porous and spongy. I used a day-old loaf of French Batard from Whole Foods.


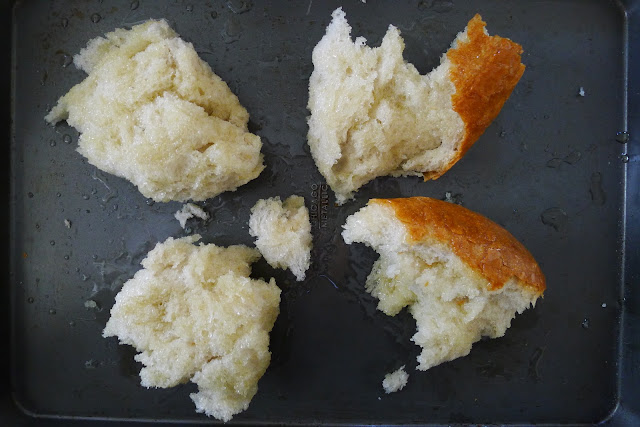
Take off most of the crust, tear the crumb into fairly large chunks, and brush the chunks all over with olive oil. Throw these into an oven on "browning" mode, or simply put these into the oven after you've preheated the oven to 475 degrees for the chicken.


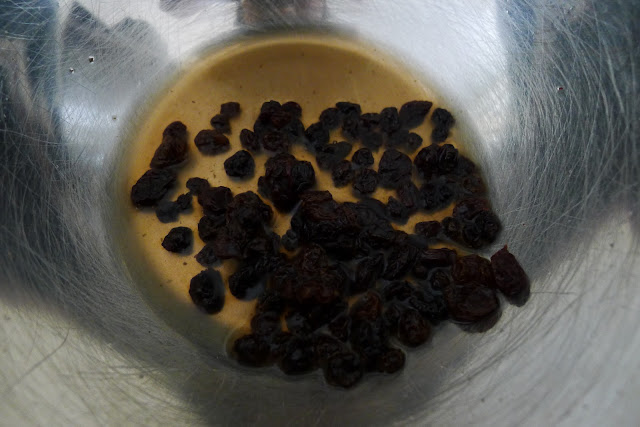
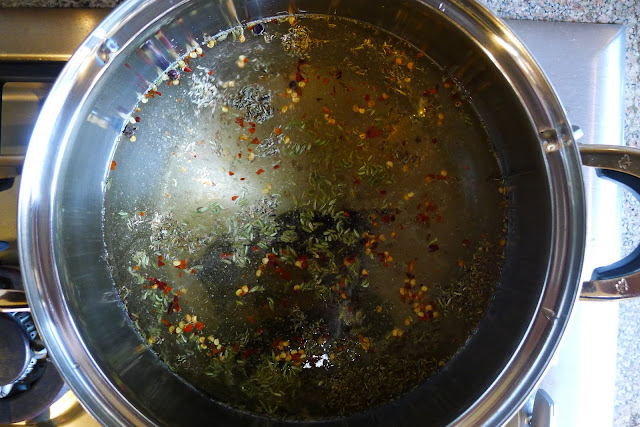
Meanwhile, throw some dried currants into a pool of red wine vinegar and some warm water.


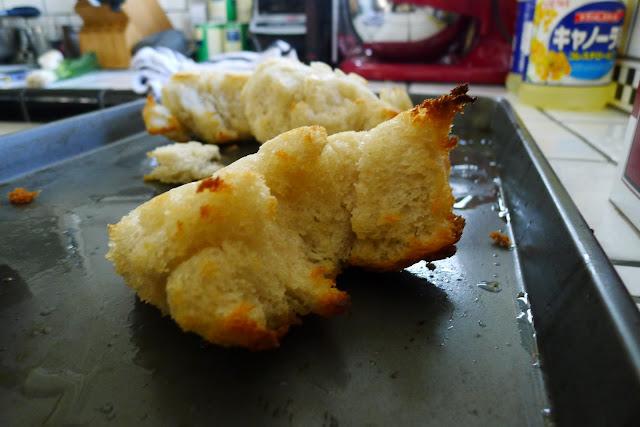
Flip the bread in the oven after about five minutes. After another three to five minutes, the bread should look lightly colored and toasted.


Rip the bread into chunks and toss this in a bowl with olive oil, white wine vinegar, salt, and pepper.


Toss the chicken into the oven, breast side up. In the meantime, stir some scallions and garlic in olive oil over medium until softened. After the chicken has been in the oven for thirty minutes, flip the chicken.


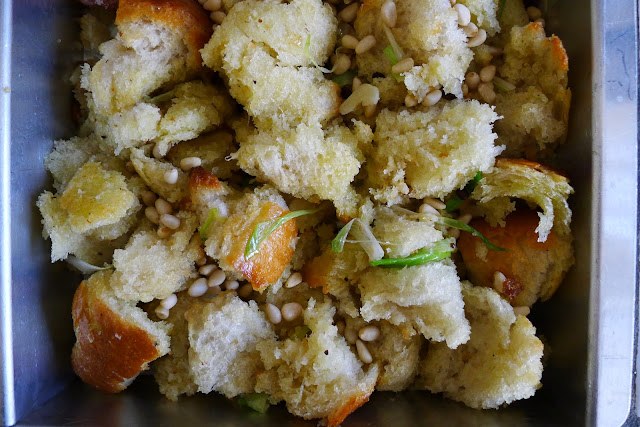
Roast the chicken for another fifteen minutes. Meanwhile, fold the pine nuts, strained currants, garlic, and scallions into the bread crumb.


Flip the chicken one more time so that the chicken is breast side up again and roast for another five to ten minutes. For the last five to ten minutes, throw the bread salad covered with aluminum foil into the oven.


Take out the chicken to rest, but keep the bread salad in the oven for another five minutes.


Reserve the pan drippings to fold into the bread salad after it comes out of the oven.


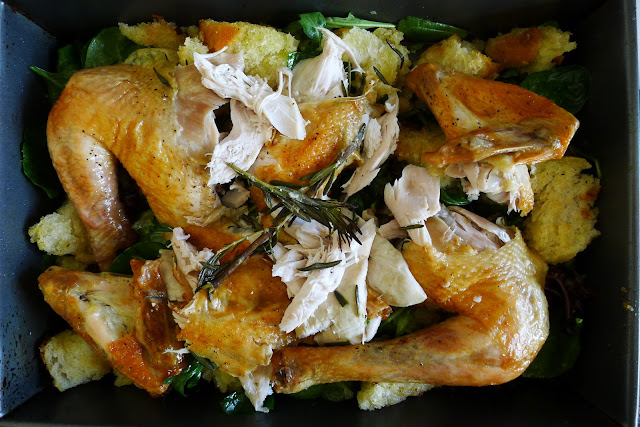
Drizzle the pan drippings and toss a few handfuls of mixed salad greens into the bread salad. I tossed the greens with some white wine vinegar, olive oil, salt, and pepper before throwing them into the salad to ensure that the salad would have a bright, acidic flavor. I also used the roasting pan itself as the serving platter so that the bread salad would sop up any remaining drippings.


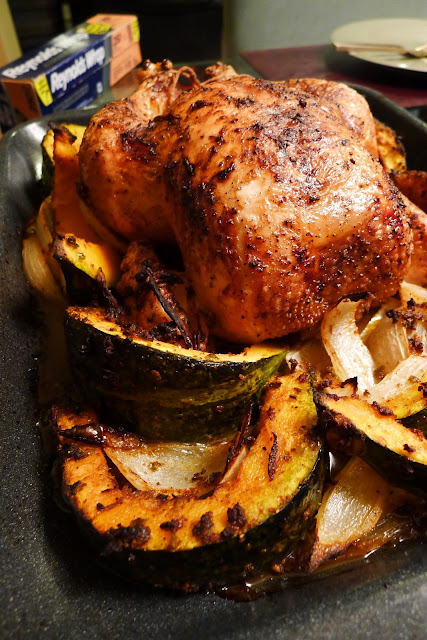
Finally, carve the chicken and nestle the pieces of meat into the bread salad.


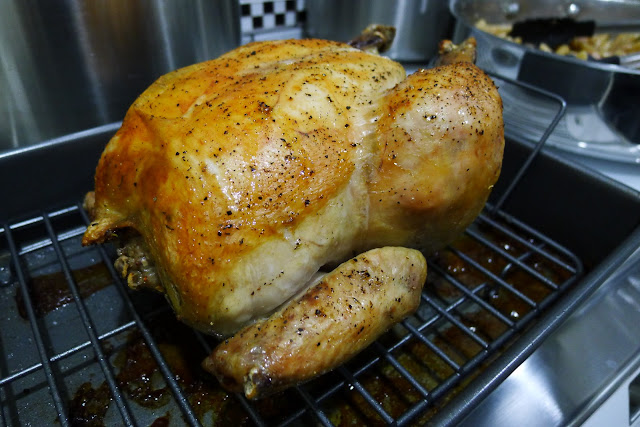
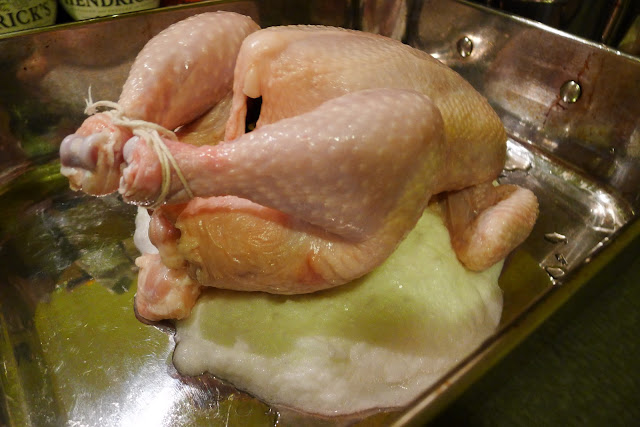
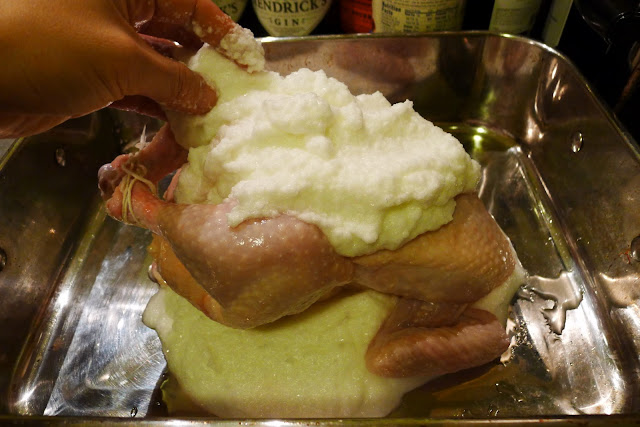
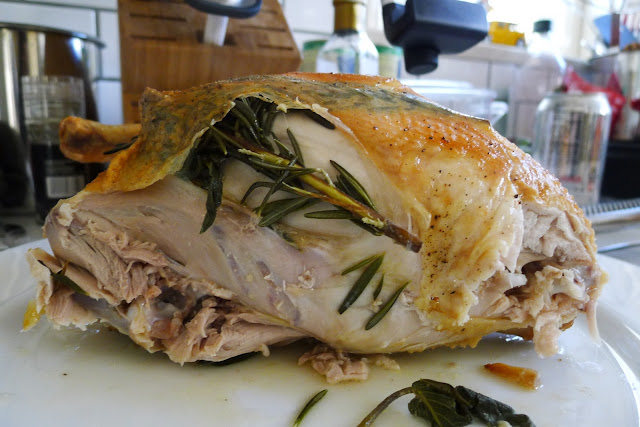
The end result was as good as I could've hoped. The dark meat was juicy and, like the white meat, was packed with the potent flavors of rosemary and sage. The most notable part of this recipe was the skin. Insanely crispy. Just as the recipe explains, tying the roast chicken legs, like so many recipes do, would have been a waste of time and would not have maximized the potential crispiness of the skin. The Zuni Cafe version of the roast chicken was still better, but I guess that's why they still handle order upon order of their roast chicken every day.

The bread salad, however, was just as good as I remember. Tangy, acidic, savory, and fluffy, all at the same time. The crispy bits of crumb that opened up to a soft, spongy interior were texturally sublime, and the combination of pine nuts and currants hydrated with red wine vinegar really brought me back to my first bite of this salad in July. All that with a tender bite of the chicken was a perfect way to rein in the penultimate meal of the year.

24 roast chickens? Done and done.

But a project is never complete without a final list of thoughts, lessons, and rankings. And I'd do that now if it weren't for the humungous chicken and bread salad bomb in my stomach (not to mention the turbo delicious handmade pizza my brother made) and the 6:15pm reservations my family has for a much-anticipated six-course dinner at Sotto (after all, what's New Year's Eve without a little bit of a splurge?). Expect that more thoughtful post tomorrow.

For now, I salute you, 2011, for another fulfilling and memorable year, complete with its fair share of ups and downs, garnished with new adventures and discoveries, dusted with disappointments and downfalls, and served with a side of 24 delicious roast chickens.

Tony Maws' Whole Roast Chicken (23/24)


Not many people can say they've sous vide'd a whole chicken. As of last Monday, I can.

Tony Maws, the mastermind behind Craigie on Main in Cambridge, MA, shares this roast chicken recipe on his website. And the recipe is daunting. Believe you me, the thought of brining, vacuum sealing, and dunking an entire chicken into a hot water bath seemed very near threatening at first, but after going through the process once, it ain't so bad after all. If you're lucky enough to own an immersion circulator, or have a friend who has one, like I do, taking the day to prepare and watch over this preparation of roast chicken is well worth the effort and wait.


First, combine the ingredients for the brine and bring the brine to a simmer. Water, kosher salt, kombu (11 grams, to be exact), dried thyme, coriander seeds, fennel seeds, allspice berries, juniper berries, chili flakes, and cloves. Forget bath salts. The resulting aroma of this brine is eye-rollingly soothing.


After letting the brine cool, dunk the chicken into the liquid. I used a resealable bag and flipped the bag once after one-and-a-half hours of brining to make sure the brine would find its way into every crevice of the chicken.


After about two hours of brining, start warming a tub of water to 158 degrees Fahrenheit with an immersion circulator. Don't underestimate how long this might take. After all, 158 degrees is a pretty high temperature. After three hours of brining, the chicken should look a little something like this. Don't worry if you can't get all the aromatics off of the chicken.


Next, wipe the chicken dry, season the chicken with salt and pepper, and place the chicken, chicken or duck fat, and a sprig of thyme into a vacuum seal bag.


And vacuum seal away. I was a little worried here that there might still be brine remnants that would get sucked into the vacuum, but everything was gravy.


At this point, the water tub should have reached 158 degrees. Dunk the chicken into the hot water bath.


After 2.5 hours in the hot water bath, take the bag out and let the chicken rest for 20 minutes.


As the chicken is resting, fill a tub with cold water and ice. Once the chicken is done resting, place the bag into the cold water for at least 1.5 hours to allow the chicken to chill. When the chicken gets cold enough to your liking, preheat the oven to 425 degrees.


Take the chicken out of the bag and wipe off as much of the "gelled juice" as possible. Be really careful when you're doing this step because the skin can tear very easily. And don't worry if the chicken takes on the color of that preserved fetal pig you might have dissected in high school. The final oven roasting step will take care of any concerns you might have about the form or color of the chicken.


When the oven's ready, pop the chicken in for 40 minutes. The chicken should take on a welcomingly familiar brown color.


Finally, rest the chicken for 10 minutes. The final product should smell like a classic roast chicken and have a slightly crispy skin.


The first cut was divine. Because I was so taken aback by how perfectly cooked the inner thigh was, I immediately took the carving knife to the breast. Just as I had hoped, the breast was cooked to perfection from skin to rib. The dark meat bursted with flavor and depth. Juices purged their way out of the lower thigh and inner breast, and the innermost meat took on an ever so slight pink tinge that indicated that the meat was cooked to just the right temperature.

Ah, the magic of sous vide cooking. I mean seriously, look at that exposed chicken breast. Some of the breast meat was so juicy that it almost felt like sashimi when I placed it on my tongue. The simple salt and pepper seasoning let the poultry shine and the somewhat loose, yet still crispy skin added some texture to each bite.


Even though none of the thyme and not much of the brine's flavors came through, several bites had fleeting hints of coriander and allspice. Usually three hungry people can rip through a chicken like nobody's business. But the meat on this chicken was so juicy, rich, and succulent that my mom, brother, and I had trouble stuffing ourselves with anything beyond a normal portion of chicken. I guess that's why people say that a well-cooked chicken feeds more than a mediocre chicken.

Okay, fine. You're right. People don't say that. But they should.

Not to spoil the results, but I'll tell you right now that this chicken is easily going to snag a spot in the top five.

Friday, December 30, 2011

delicious. Magazine's Bengali-Spiced Squash with Ginger Roasted Chicken (22/24)


Early into this project, I spent a good few hours looking up roast chicken recipes with search terms like, "Chinese roast chicken," "Thai roast chicken," "unique roast chicken," and "Latin roast chicken." Basically, roast chicken recipes that weren't necessarily the product of famous chefs that had a non-European flavor profile. Chicken number twenty-two was the result of searching, "Indian roast chicken." I know, "Bengali" isn't entirely Indian, and is more Bangladeshi than anything, but the recipe looked solid and delicious. The inclusion of a squash made me reserve this one for autumn or winter, when squashes are in season.


The recipe starts with some fresh grated ginger. Most people use a regular spoon to skin fresh ginger, but I find grapefruit spoons to be more effective and efficient.


The tablespoon of ginger goes straight into the cavity of the chicken. If your chicken looks something like an alien life form's mouth spewing acid, you're probably on the right track.


After seasoning the chicken with some olive oil, salt, and pepper, tie the legs together and place the chicken onto the roasting pan. Send the chicken off into a 425 degree oven for 20 minutes.


In the meantime, work on spicing up the kabocha squash. The recipe calls for whole green cardamom pods, which I'd never seen before, so I thought I'd share a little picture of them. Instantly, you can smell the difference between the potencies of pre-ground cardamom and freshly ground cardamom.


The cardamom gets thrown into a spicy party of paprika, coriander, cumin, and chili powder. The resulting aroma is insanely addictive as the spices come together.


After 20 minutes in the oven, the chicken should be nicely browned. Take out the chicken and let it sit as you start to prepare the squash.


In a pan, combine the sunflower oil, onion wedges, jalapeño, garlic, and ginger into a pan, and then add the kabocha squash and spices to meld all the flavors together. The recipe asks you to peel the skin off of the kabocha squash, but I just love the skin too much to let it go to waste.


As the kabocha is cooking, squeeze out some lemon juice, return the chicken to a 395 degree oven, and baste the chicken every 5 minutes for 20 minutes.


Once the acorn squash has been lightly cooked and thoroughly combined with the other spices and ingredients, surround the chicken with the onions and squash and return the pan to the oven.


After about 40 more minutes in the oven, the squash should look a little blistered and the chicken should look crisp and browned. Right when you open up the oven door, a hurricane of lemon, chicken, and cardamom hits you in the nose and follows up with a jab of that distinctively autumnal smell of roasted squash. And I don't mean to brag or anything, but I think my chicken looked even better than the one pictured in the recipe. No big deal.


The kabocha squash was absurdly delicious. The nutty sweetness and richness of the squash performs an amazing balancing act with the spectrum of spices, garlic, and jalapeño in your mouth. The softened onion wedges pick up a ton of the stray lemon juices. And both the squash and the onions pick up the meaty pan drippings. If the Bengali region was anywhere close to Mumbai, I would describe the flavor bomb in my mouth as a 24-hour Bollywood dance party. I nearly forgot that there was a chicken to eat, but I'm glad I didn't.


The chicken was an absolute success. My dad said this was the best roast chicken he's ever had. Piercing into the dark meat released even more flavor into the pan for the squash and onions to pick up, and every piece of dark and white meat featured serious juice and beautifully crispy skin. Dipping the meat into the pan drippings was a treat. The lemon juices that gathered in the pan added a necessary acidic element to the heavy combination of chicken and squash. Eating the chicken together with the squash and onion was perfection. I don't think any other chicken recipe over the course of this project has suggested a side as successful as this.


My only complaint with this chicken is that the flavor of ginger didn't find its way into the chicken at all. The ginger in the preparation of the squash wasn't enough to satisfy my love for ginger either. I guess next time I prepare this chicken, which I most definitely will, I'll have to add some more ginger to both the squash and the chicken cavity. Definitely try this recipe before squash season ends.

Two more posts to close out this project, and the year, tomorrow.

Christian Domschitz's Salt-Roasted Chicken (21/24)


Salt. A pinch here, a dash there, salt plays an essential role in the world of savory cooking. Especially when it comes to roasting a chicken. But this recipe takes salt's role to a whole new level. Sure, I've seen plenty of salt-roasted fish in my day. Always breathtaking upon arrival and deliciously juicy. But a chicken? Salt-roasted? Needless to say, when I saw this recipe, I knew I had to give one of the chicken recipes on my list the boot. And I'm glad I did.


Christian Domschitz, a chef based in Vienna, Austria, begins this surprisingly simple preparation of a roast chicken with seven cups of kosher salt. That's a lot of salt. But then again, that's a lot of chicken to encase in salt.


Next, a dozen egg whites.


Dump the egg whites in with the mound of salt.


Save those golden yolks for a baking project or some heart-stopping omelettes. Or lightly fry them. Or just drink them. I don't care what you do with them, but just don't waste them.


The next step is probably the most satisfying step I've experienced over the course of this project. Mix the salt and eggs with your hands.


The end result should have a strangely addictive sandlike texture. The recipe says the mixing step should take four minutes, but if you're anything like me, take an extra couple minutes to enjoy the therapeutic and nostalgic qualities of this process. Just make sure you don't have any cuts on your hands. And avoid scratching your eyes.


Stuff the marjoram, tarragon, and flat-leaf parsley in the cavity, tuck the wings under the shoulders, and tie the legs to get to the second most satisfying step I've experienced over the course of this project: build a sand castle around the chicken.


Like any good sand castle, form a good foundation.


And then just go crazy.


I'm sure you could probably spend some time smoothing out the lumps, but I kind of liked the salt-mine-like qualities of the lumps.


Especially when the salt hangs from the tail.


Then pop the chicken into the oven until the salt mound has a nice golden brown color. The recipe says about 70 minutes, or until a thermometer registers 165 degrees, but because I didn't want to pierce the salt crust with a thermometer, I just roasted the chicken until the salt became this color. And the results were absolutely fine. For this four pound chicken, I roasted the chicken for about 80 minutes, because at 70 minutes, the salt crust wasn't looking quite as brown as I thought it should.


After letting the chicken rest for at least 10 minutes, partake in the third most satisfying step I've experienced over the course of this project: use the handle of a carving knife to crack open the salty crust to reveal your spoils.


My friend described this chicken's appearance as naked. And I have to agree. Probably one of the more anti-climactic reveals I've experienced over the course of this project, but don't judge a chicken by its skin.


Judge a chicken by its outrageously juicy and perfectly cooked thighs. And its equally juicy and meaty breasts.


Eating this chicken was like alternating between eating a piece of unseasoned chicken and then placing your tongue on a salt lick. Chicken. Salt lick. Chicken. Salt lick. Sound unappealing? Because it's not. It's amazing. It's addictive. It's downright delicious. Sure, every few bites you might catch a chunk of salt, but it's a salt-roasted chicken. Put it behind you and keep eating.

Every piece of meat was infused with a hint of tarragon, which, like the juiciness of the chicken, was probably the result of locking in the flavors and heat with the salt crust. While I found myself missing the crispy qualities of an exposed roast chicken, the juiciness really made up for it.

And if you're anything like me, you might be tempted to try a few bites of the salt crust. And guess what? It tastes exactly like what you'd expect it to taste like. A bunch of egg whites and a ton of salt. I mean a smack-you-upside-the-head ton of salt. Not recommended.

A simple recipe with amazing results? Looks like we're getting some real competition for the top spots in this project. Stay tuned. Another post to come later today.
Related Posts Plugin for WordPress, Blogger...